Tag: natural hair

Unlock Your Hair’s Potential: MSM Powder for Hair Growth Explained

Today, I’m super excited to dive into a topic that’s been buzzing in the natural hair community: MSM powder for hair growth. If you’re like me and constantly on the lookout for ways to nurture those beautiful curls, you’re in for a treat. Join me as I uncover the science behind MSM powder and its remarkable potential to boost hair growth and vitality. Let’s dive in!

Maximize Your Mane: The Benefits of MSM for Hair Growth

msm powder for hair growth


So, what exactly is MSM powder, and why am I raving about it? Let me break it down for you, sis. MSM stands for methylsulfonylmethane – a mouthful, I know, but trust me, this stuff is pure magic in a bottle! It’s a naturally occurring compound that’s rich in sulfur, a vital nutrient for promoting hair growth and overall hair health. And guess what? Our bodies need sulfur to produce collagen and keratin, two essential proteins that keep our curls popping and flourishing.


Now, let’s talk benefits, because there are plenty! First off, MSM powder stimulates hair follicles, encouraging them to enter the active growth phase – say hello to those inches, honey! Plus, it boosts blood circulation to the scalp, ensuring that essential nutrients reach your roots, nourishing them from within. Translation? Thicker, healthier hair that’s practically begging to be flaunted!


But wait, there’s more! MSM powder isn’t just about length – it’s about strength too, boo! Say goodbye to breakage and hello to resilience, because this miracle powder strengthens your strands from the inside out, leaving them more resistant to damage and frizz. And did I mention the shine? Oh, honey, prepare to dazzle!


Now, I know what you’re thinking – does it actually work? Trust and believe, sis, the results speak for themselves! Countless naturalistas, including yours truly, swear by MSM powder for achieving their hair goals. But hey, don’t just take my word for it – try it out for yourself and prepare to be amazed!
Of course, I gotta drop a little nugget of wisdom – consistency is key! Incorporate MSM powder into your hair care routine like the queen you are, and watch those inches stack up like nobody’s business. And remember sis, patience is a virtue – Rome wasn’t built in a day, and neither is a bomb twist-out!

My Results with MSM Powder

I added MSM powder to my regimen and the results were almost instant. I had just installed mini twists before starting so it was easy to track my progress. My new growth (video of new growth) was out of control. Not only was my new growth out of control but my gray hair seemed to have taken over or something.

Now let’s talk about the side effects and not-so-good stuff. Common side effects of MSM powder are headaches and blemishes. I had both. Research tells me that increased water intake helps with breakouts and headaches. My headaches did improve but the breakouts did not. Unfortunately, I stopped using the MSM powder after a month due to uncontrolled breakouts.

I am considering trying it again in a lower dose and with more water. I like the growth I saw in just one month and I am curious to see what MSM does to my hair and nails over several months.

msm powder for hair growth and orange juice

Tips for the Best Results Using MSM Powder for Hair Growth

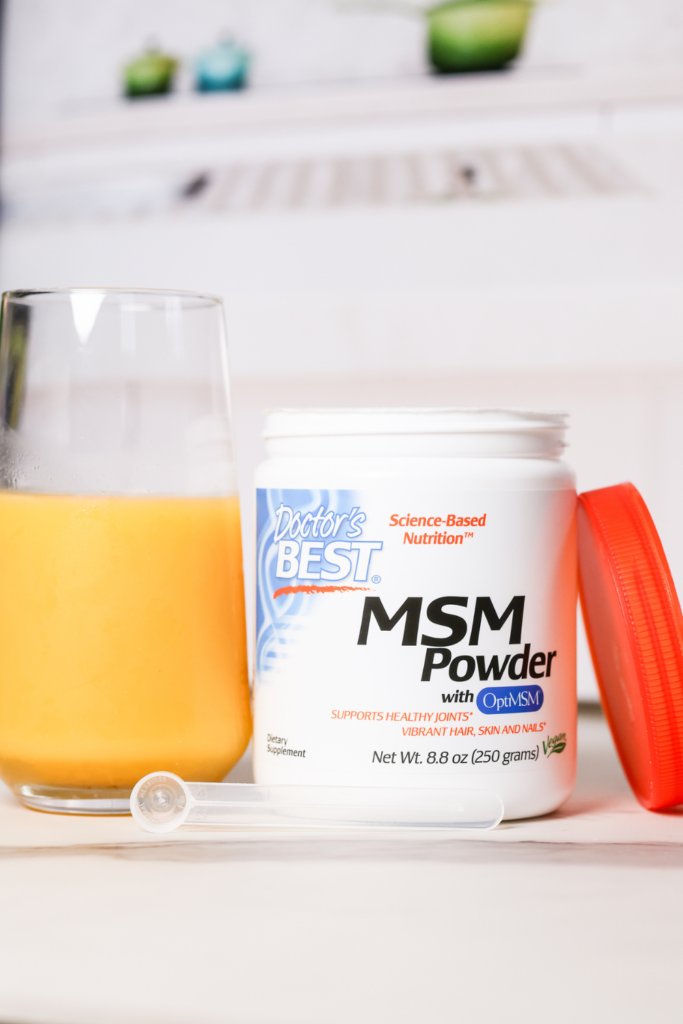
  1. Take it with OJ! Pairing MSM with vitamin C-rich orange juice enhances absorption.
  1. Start Slowly: When incorporating MSM powder into your hair care routine, start with a small dosage and gradually increase it over time. This allows your body to adjust and reduces the risk of any potential side effects.
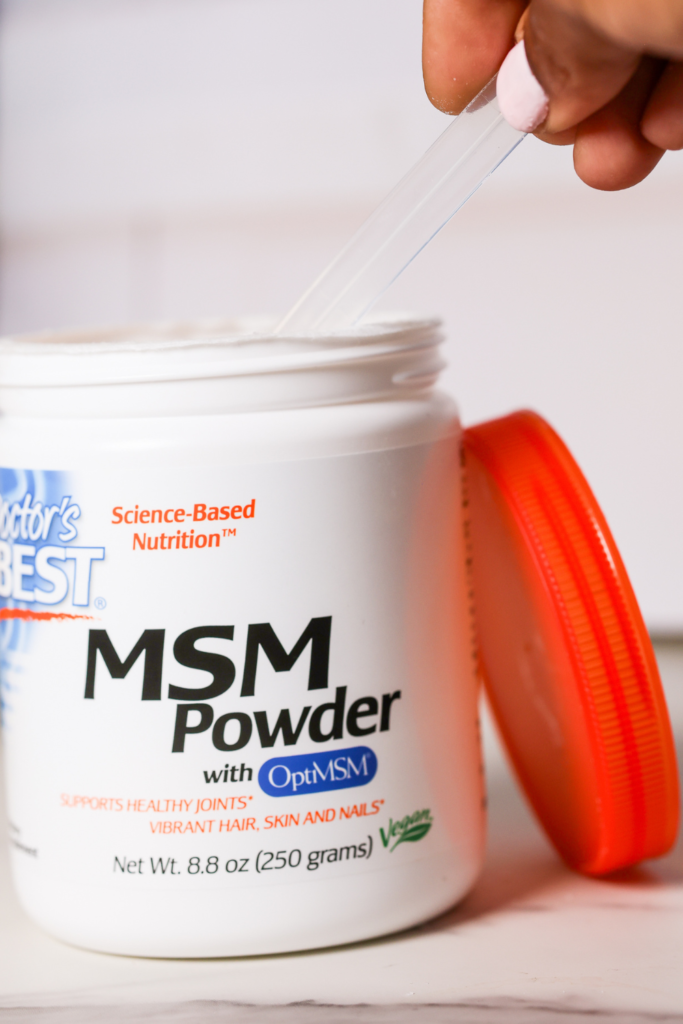
  2. Choose High-Quality MSM: Opt for a reputable brand of MSM powder to ensure purity and potency. Look for products that are third-party tested and free from additives or fillers. (I used this one)
  3. Stay Consistent: Consistency is key when using MSM powder for hair growth. Incorporate it into your daily or weekly hair care routine and stick to it for optimal results.
  4. Pair with a Healthy Diet: While MSM powder can support hair growth, it’s essential to maintain a balanced diet rich in vitamins, minerals, and protein. Eating a variety of nutrient-dense foods can help support overall hair health and growth.
  5. Hydrate: Drink plenty of water to stay hydrated from the inside out. Hydration is crucial for healthy hair growth, and MSM powder works best when combined with adequate water intake.
  6. Be Patient: Hair growth takes time, so be patient and consistent with your MSM powder regimen. It may take several weeks or months to see noticeable results, but with perseverance, you’ll achieve the hair goals you desire.
  7. Monitor Your Progress: Keep track of your hair growth progress by taking regular photos or measurements. This allows you to track any changes and adjust your routine as needed.
  8. Consult a Professional: If you have any concerns or questions about using MSM powder for hair growth, don’t hesitate to consult a healthcare professional or dermatologist for personalized advice.

So, there you have it, lovelies – the tea on MSM powder for hair growth and why it’s the secret weapon your hair’s been craving! Ready to unleash your inner Rapunzel and let down those luscious locks? Grab yourself some MSM powder, sprinkle that magic, and watch your hair journey take flight!


XOXO,

Tonya @ Shes_Pretty_Posh

PS. Don’t forget to check out my Amazon Storefront where you will find my tried and true favorite natural hair products and accessories.

The Power of Protection: Mini Twists with Extensions for Hair Growth

One of my goals for this year for my natural hair journey is to retain length.  Although I have been on this natural hair journey for a few years, I have not been retaining length.  I decided to try a new protective hairstyle for increased hair growth.  Thanks to TikTok and Pinterest, I attempted installing mini twists with extensions.  I was apprehensive going in but I am pleased with the results!

protective hairstyle mini twists with extensions

Mini Twists: A New Cute Protective Hairstyle for Hair Growth

One night while scrolling in Tiktok,, I came across a post about mini twist.  Even though I immediately adored the style, I realized that my hair wasn’t thick or long enough for it. That’s when I discovered mini twists with extensions. Having braided my hair for years, I decided to give it a shot.

Prepping Hair for Protective Style

For a protective style to offer the most benefits, the hair needs to be healthy and moisturized before styling. To prepare for several months in a protective style, I washed, deep conditioned, and trimmed my hair. Additionally, I straightened my hair before trimming it. However, when attempting this style again, skipping the straightening step is what I would opt for, as it resulted in bone-straight ends and flyaways.

Installation and Materials

I began working on my hair quite late in the day. On the first day, I braided from 2 pm until just after 8 pm. Then, I continued braiding for a few hours on the following two days. Note: I had some commitments that caused delays in the installation process for me. Next time, it will be quicker.

TikTok told me I only needed one pack of Springy Afro Twist.  I purchased 2 packs of 12-inch and 2 packs of 16-inch.  In the end, I used a pack and a half of each.

Materials (Click the image for additional details)

afro spring twist afro hair for protective hairstyle for hair growth
parting comb
instant control edge control for braids and twists

Results

When I finally finished, I only had two regrets in this process.  For one, I regret starting with straight hair because it made it more difficult to blend the hair.  Secondly, after using less hair in a few twists I decided I liked the smaller twists better.  I wish I had used smaller twists all over.  

mini twists with extensions

Overall, I would say my first attempt at installing mini twists with extensions was a success.  I will be giving my hair lots of TLC while in twists and hopefully, this is a protective style that can encourage growth and length retention for me.  I will be checking back in with my results.

Thank you so much for reading!  Until next time!

Ton

Quality Black Owned Hair Care Brands to Try: Define Natural Hair Products

Looking for new, quality products to add to your hair care routine? No worries, I have you covered. I recently happened upon a line of black-owned hair care products. The brand, Define Natural Hair, creates products that are designed to improve manageability while maintaining the health of coily and curly hair. The product line features products to cleanse, condition, hydrate, and style coily, curly, kinky, and other different textures of hair.

black owned hair products hair growth oil application


Braid Maintenance with Define Natural Hair

When I first received the products, I was wearing bohemian box braids. Although I was wearing a protective style, I still like to take care of my hair while in braids. I found several of the products would also work well on my hair while in braids.

I received the following products:
Cleanse (Shampoo)
Hydrate (Conditioner)
Kinks Kocktail (Leave-In)
Growth Elixir (Growth Oil)
Mane Tame Ing (Mousse)
Solution (Solution for Dry and Itchy Scalp)
High Gloss Almond Oil (Hair Glosser)
Concoction (Scalp Oil)

Although I am in a protective style, I still wash my hair. So I decided to do a wash day with the shampoo and leave in. I used the mousse to lay my edges down again after washing away the built-up edge control. In an effort to keep the itchies away, I used Solution on my scalp every other day after washing.
Overall, I believe the products gave a favorable result and I was able to get a few more weeks of wear out of my braids.

While I have only used these products on braided hair thus far, I can’t wait to give it a try on my natural tresses. I am going to try to wash and style my hair in a wash n go with these products and I will report back with my findings.

black owned hair care products by define natural hair


If you are searching for quality black-owned hair care products to add to your natural hair care regimen, I highly recommend checking out Define Natural Hair products.

Don’t forget to save this blog to your Pinterest so you can come back and reference it again later.

Getting Boho-Chic: My Bohemian Box Braids Journey

I have been wearing braids as my go-to protective style as I continue my natural hair journey. While I started out getting my hair braided at braid shops, during the pandemic I started braiding my hair at home. With each time I feel the results have improved so I recently decided to add a little razzle-dazzle and try my hand at bohemian goddess box braids.


DIY Bohemian Box Braids: My Experience


Let me start out by saying this was not really my first attempt at this braid hairstyle. My first attempt was an absolute fail. It was too big, frizzy, and it just was not giving what I needed it to give.
Although I spent a lot of time adding the extra hair for the bohemian effect, I cut all of the pieces out after just one day. It just was not working for me.

black woman in the gym with bohemian box braids
My first attempt with bohemian box braids


With the Beyonce Renaissance tour approaching, I wanted to do something a little different with my hair. I mean it’s Beyonce! I had to add a little razzle-dazzle! I decided to try my hand at the bohemian style again. This time I did a little more research by reaching out to my sister who braids hair and also spent some time watching TikTok Videos.

After talking to my sister and paying a little more attention to the TikTok videos, I discovered one mistake I made the first time was using the wrong type of hair. I thought I could simply grab some curly or wavy crochet hair and go for it. That is not the case. For my first attempt I used this hair, although it wasn’t terrible and may work for some, it just wasn’t the look I wanted.
So what hair do you use? My sister shared the hair that she used and told me that I could also use this hair by FreeTress. One thing I noticed right away was the price, I thought to myself for that investment, I was going to MAKE this work!


My Process for Installing My Braids


There are a few ways you can install extra hair for the bohemian look when braiding. I knew right away that I did not want to feed in the extra hair during the braiding process. I didn’t want to use this method because I felt it would take a lot more time to install and I also have not perfected my feed in braiding. So I decided to install box braids as I normally would and attach the extra hair using the crochet method.

black woman with box braidsa
Right after installing, dipping braids, and applying mousse to fresh braids.
box braids with 27/30/613 mix
Another picture of my fresh braids after application.


After spending two days braiding my hair, I was finally ready to add the extra pieces. I went with this hair in a 27. I was a little bombed because I wanted to add two shades of blonde but this hair wasn’t available in a 613 and the wefted human hair was just too expensive for this project. The first few pieces were challenging to work with. I used nail glue to secure the pieces and prevent the hair from unraveling. I was a little apprehensive with the first couple of braids because I didn’t want the glue damaging my natural hair in the braids but after a couple of braids, I was able to perfect my process.

woman wearing black and whit stripe shirt with bohemian box braids
The final result…I like them!
bohemian box braids in color 27/30/613
One more pic of the final result. 🙂


Another thing I did differently this time is I used less hair. Last time, I felt I needed to add extra hair to every single braid. This time I went for a more bohemian look and I only added it to some of my braids. I was careful to consider the braid hairstyles I would be wearing to make sure the extra hair would fall properly once styled. I also followed up with mousse on the hair once installed.

Overall, I am pleased with the final results. I like them enough to take photos, post to social media, AND wear to the concert. Ok, who am I kidding, this style has me FEELING like a goddess! I love the final look! My only wish is that I could have added multiple colors with the extra hair. I will say the biggest factor in getting a successful outcome was the hair used, human hair or at least human hair master mix is a game changer for this style.

What about you? Have you tried bohemian goddess box braids?

Thank you so much for reading my blog, if you enjoyed reading don’t forget to save this to your Pinterest board so you can refer back later!

Pattern Beauty Wash n’ Go Routine: Two Products for Gorgeous Defined Curls

One of my favorite natural hairstyles is a wash-n-go. For quite some time, I did not think my type 4 hair would work in a wash-n-go. Well, I didn’t think I would like the results. With time and experience, I have learned how to properly choose styling products to achieve the best wash-n-go. Recently Pattern Beauty sent me a couple of their products to review and I figured this would be a great time to try a two-product wash-n-go.

wash n go products


Trying a Two Product Wash n Go with Pattern Beauty


I was super excited to receive the Pattern Beauty Styling Cream and Curl Mousse. I was tempted to purchase the Curl Gel (well, I still plan to pick it up), but I thought this would be a great time to see how my hair would respond to a mousse-only wash-n-go. I will say, I am a fan of super-defined, crunchy curls so going in I was not too optimistic. My curls are super tight and coily, I just didn’t think the final results would be something I would be proud to wear in public.

Step 1: Styling Cream

After shampooing and conditioning my hair, I sectioned my hair off into smaller sections. In my experience, I get better curl definition when working in smaller sections. Once sectioned off, I started working the styling cream into my hair being careful to coat my ends really well. According to the website, the styling cream serves as a moisturizer and would be key in preventing frizz.

Step 2: Curl Mousse

curl mousse wash n go


Once the styling cream was applied, I did notice a little bit of curl action with my strands. I immediately followed up with the curl mousse and let me tell you the curls started clumping. This is when I started to get excited. While applying the products, I noticed my wet hair looked pretty similar to the results I usually achieve when doing a wash-n-go with gel as a main product.

Step 3: Setting the Curls

Once I completed my entire head, it was time to set the curl. I sat under my hooded dryer for about 30 minutes and followed up with a short session with my diffuser. This step was more so to stretch my hair and get rid of some of the shrinkage.

The Results:

Pattern Beauty Wash n go products


Before I started to manipulate my hair with the diffuser, my curls were perfectly defined. There was very little frizz and the curls were popping! Although my hair was about 80% dry when I started with the diffuser, the more I stretched and manipulated my hair, I started to lose a little hold.


Overall, I am pleased with the products. As someone who is actively working to grow my hair, I am a fan of clean hair products. I like that Pattern Beauty products are clean, quality products so that is one reason I will definitely try them again. I also like that the products did exactly what they claimed to do, I was left with soft, moisturized, and defined curls. The only thing I would do differently is add the Curl Gel. This is a personal preference because I like my wash-n-go to hold for a few days and I am also a fan of a slightly “crunchy” curl.

Overall, I give these two products two thumbs up! I am excited to try more products from their line!

two product wash n go products


What about you? Have you tried Pattern Beauty hair products? Tell me about your experience in the comments!

Did you enjoy reading this post? If so, don’t forget to save to Pinterest for later!